How to change bathtub silicone
Time leaves unsightly and unhygienic marks on sanitary areas. The bathtub sealant is constantly exposed to conditions of humidity, heat, steam and condensation, but especially to the aggressive action of chemical cleaning products. If you have not chosen a quality product in the past, especially for the sanitary area, you will have to do this sealing operation again. You can replace the silicone around the bathtub quite easily, but choose a high-quality sealant wisely now to avoid trouble in the future. Follow the step-by-step plan below for removing the old sealant and applying a 100% silicone sealant with fungicide. From now on, your bathroom will have 5-star tightness and maximum resistance to mold formation!
REQUIRED MATERIALS:
- cutter type knife
- scraper
- dish sponge
- masking tape
- household ammonia or alcohol
- Bison Multi-tool – multifunctional spatula
Bison Silicone Sanitary or Bison Super Silicon 100% or Bison Poly Max original MS Polimer
STEP 1
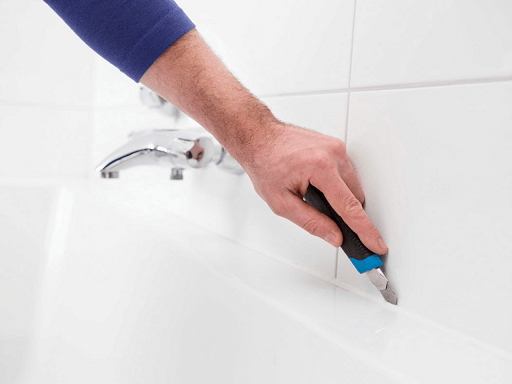
Cut the old sealant cord (silicone) on both sides with a knife with thin and flexible blade, cutter type.

STEP 2
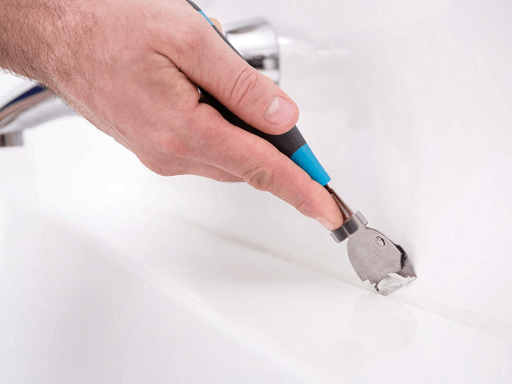
Remove the existing silicone using Bison Multi-tool multifunctional spatula.
STEP 3
Remove difficult residues with a scraper.
Tip: you can use a set of special accessories for removing the old silicone.
STEP 4
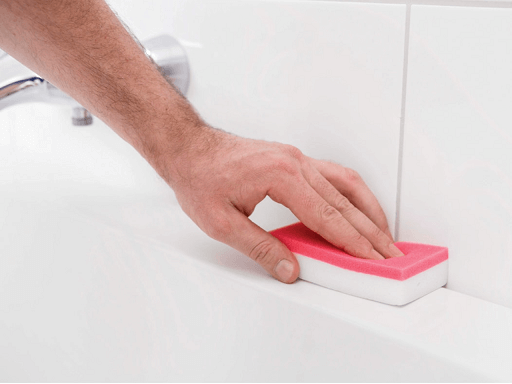
Sand the cleaned edges using the abrasive side of a dish sponge.
STEP 5
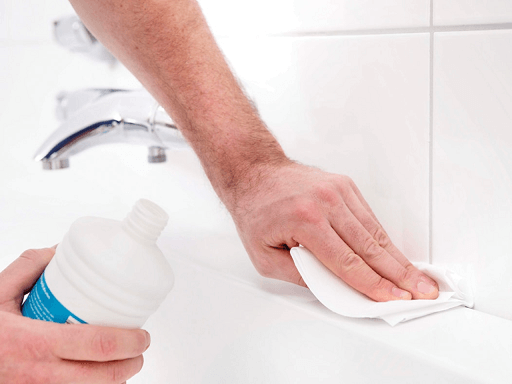
Degrease the sanded surface with household ammonia.
Tip: let it dry properly. If necessary, heat gently with a hair dryer.
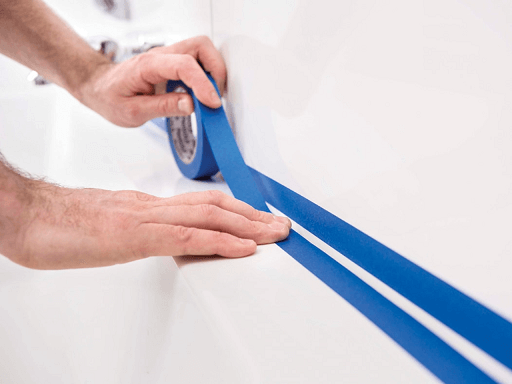
STEP 6
Apply masking tape on the bathtub and on the wall, about 3 mm from the center of the joint.
Tip: For unbuilt (unstable) bathtubs, fill the tub with water so that the weight of the water creates the maximum width of the joint.
STEP 7
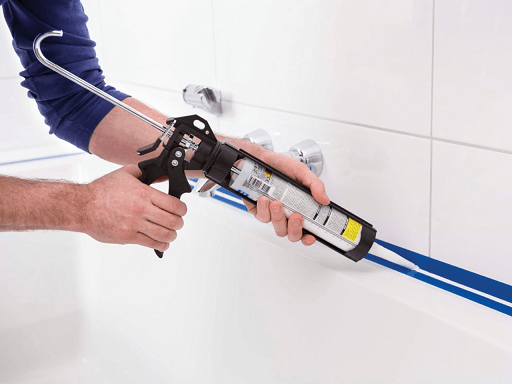
Apply the new product of sealing evenly along the joint, in sufficient quantity.
STEP 8
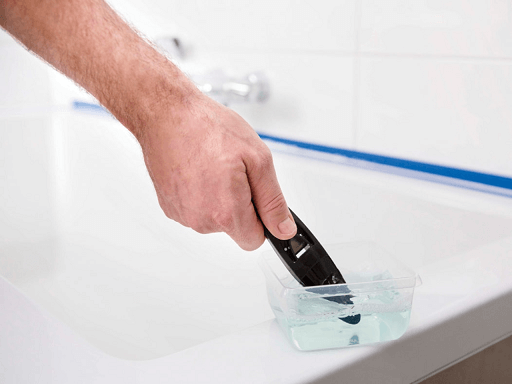
Multifunctional dip spatula Bison Multi Tool in soapy water, without acidic ingredients.
STEP 9
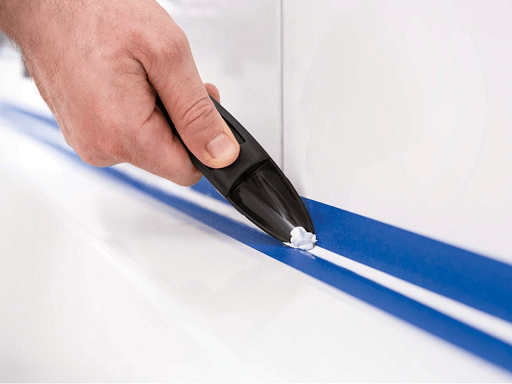
Smooth the sealing bead within 10 minutes maximum of application using the multi-purpose spatula to achieve a perfectly rounded and concave finish.
Tip: Use the Bison Multi Tool with the concave side up to collect excess sealant.
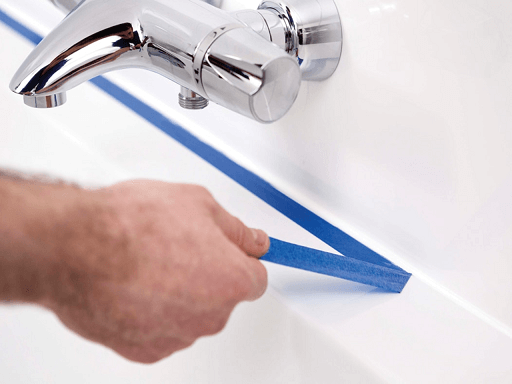
STEP 10
Remove the masking tape carefully.
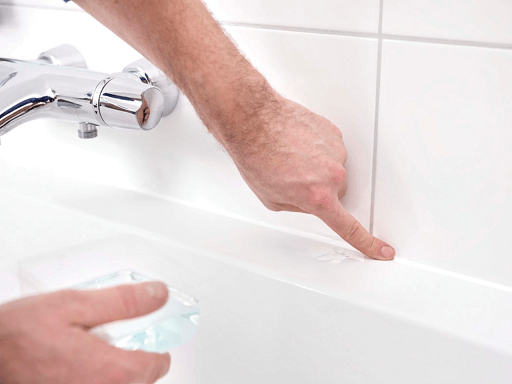
STEP 11
Finally, carefully smooth out the sealant using a finger dipped in the same soapy water.
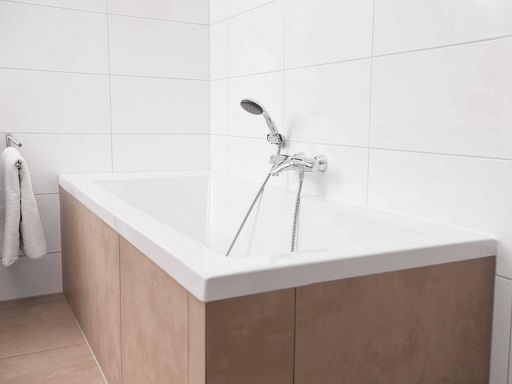
STEP 12
Enjoy a flawless result!
Tip: Read the product label carefully to observe exactly the curing time of the new sealant (silicone or polymer).


