

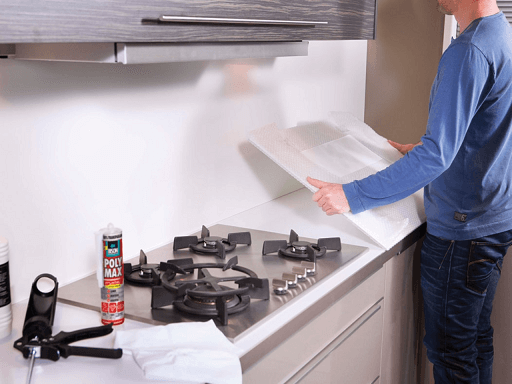
Mounting an anti-splash panel
100% crystal transparency. You will be captivated by the clarity of the glass anti-splash protection panel mounted behind the stove or stove in the kitchen. And you can assemble it yourself in just a few minutes.
Necessary materials:
- Bison Poly Max High Tack Crystal, in case you want to mount a clear glass plate
- Bison Poly Max express or Bison Poly Max High Tack express, if you want to install an opaque/painted glass plate
- Bison Multi Tool – multifunctional spatula
- Bison Power Pistol – glue/sealant application gun
- Glass plate according to the surface to be covered
STEP BY STEP WORK PLAN
STEP 1
Preparation: Carefully prepare all the materials you need for this work.
STEP 2A
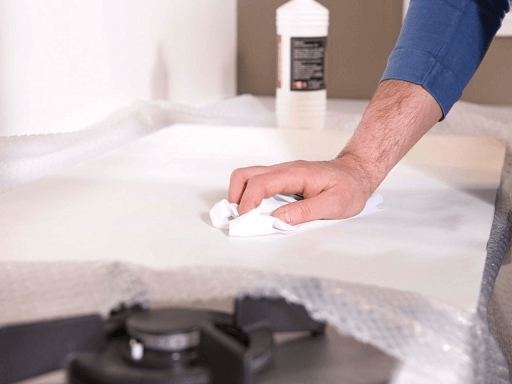
Cleaning: Clean the back of the glass plate thoroughly with a lint-free cloth and household ammonia.
STEP 2B
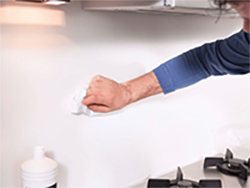
Clean the wall by removing dust and grease. Wipe and rinse well before proceeding to the next step.
STEP 3
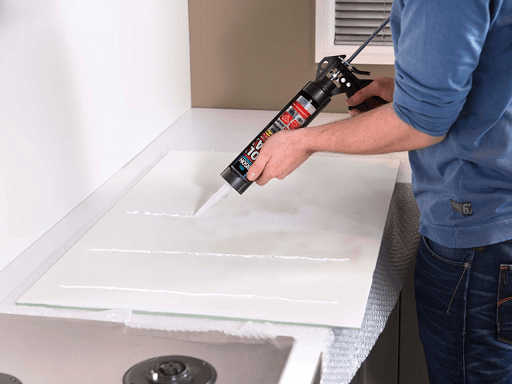
Mounting the splash plate: After mounting the applicator on the cartridge and positioning the cartridge in the gun, pull the trigger and apply the adhesive BISON Poly Max® High Tack Crystal in vertical lines every 20 cm.
Only make vertical lines to allow the glue to dry and prevent moisture from being trapped inside, thus avoiding condensation. Apply the adhesive up to about 5 cm from the edges to prevent it from seeping onto the outside of the glass plate by pressing.
STEP 4
Place the glass plate on the wall within a maximum of 10 minutes after applying the adhesive.

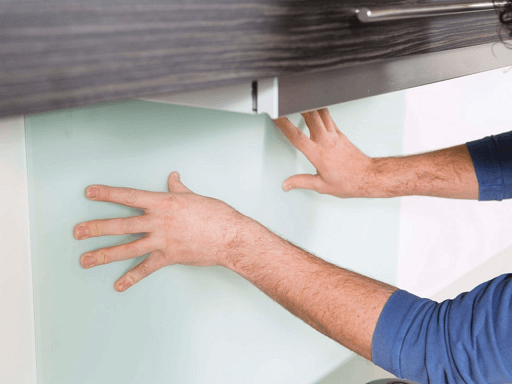
STEP 5
Position the glass plate, then press firmly. Use spacers to keep the glass plate in the correct position.
The glass plate is glued and can be sealed after 4 hours.
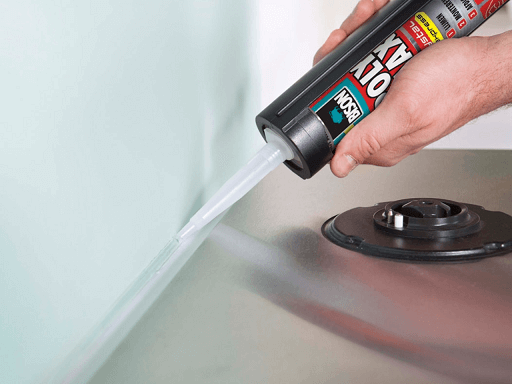
STEP 6
Splash plate sealing: Start working from one corner, applying BISON Poly Max® High Tack Crystal, positioning the cartridge with the bevel of the nozzle facing down.
If necessary, use a new nozzle to apply the correct diameter sealant.
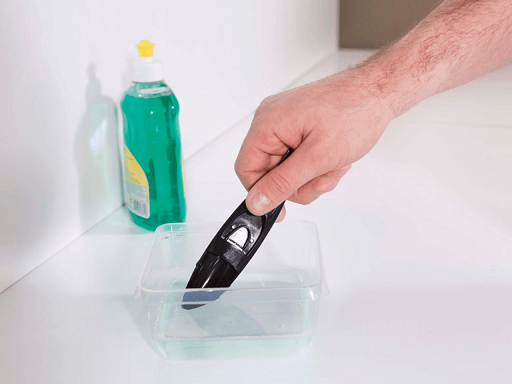
STEP 7
Dip the 3 in 1 multifunctional spatula Bison Multi Tool in soapy water.
Tip: Use a plant sprayer to wet longer cords of sealant.
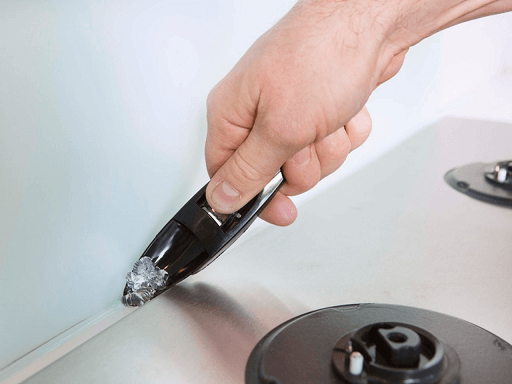
STEP 8
Smooth the sealing bead within a maximum of 10 minutes using the Bison Multi Tool.
Tip: Use the Bison Multi Tool with the concave side up so that excess sealant is collected.

STEP 9
Enjoy the result!